
 This simple net was created using the line tool. I created one line with 10 vertices's , then I made an array and copied it across to make a 10x10 grid. Then I selected the corner vertex with soft selection turned on and moved the vertex's around to create the net line affect.
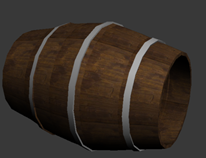 This is a barrel that I made which will be located all around my house. This was a simple cylinder and then selected the middle vertex's and scaled them out, then I put a simple wood texture of it, then selected middle polygons and put a metal texture on it.
 These pipes were created using cylinder, and then I selected the end polygon and hit "Hinge from edge" and then selected the edge that was vertical, so it would hinge a straight 90 degree's.
Annotations to come
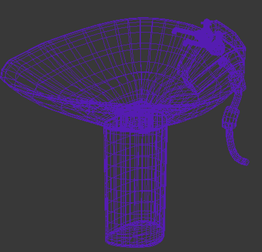
 This is the wireframe model of the lantern that I have created, this is so you can see the polygons.
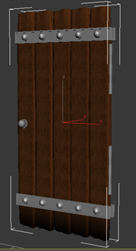
This is a door I have created for my map, I made this using box, cylinders and a sphere for the handle. The planks were made seperately and then linked together, then I made the metal bindings with bolts in, this was to give the door some more detail, because it looked a little plain and odd because it didnt look like it would stay together.
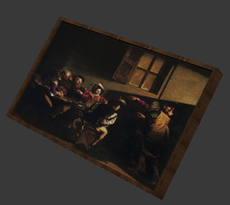 This picture frame was very simple to make, but looks very effective, it was bascially a box with one of the faces inset, and then extruded inwards slightly, and then put a wood texture on the entire model, then selcted the main face and inputted this picture , because it fits in with the era that I wanted.
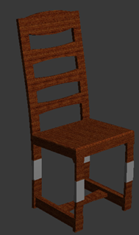 Here is a simple dinning room chair that I have created using the box modelling process, it was easily created using the extrusion and inset tools. I then textured the model using the basic "UV Map" tool which allowed me to position the textures where I wanted them, and fix any unwanted stretching.
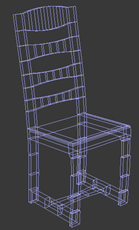 This is the wire frame model of the chair.
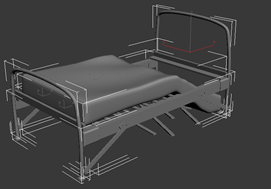 The bed is a little more complex because I wanted to make it fairly detailed, yet still keep it within a smaller polygon count. I created the beds frame first, which allowed me to get the basic shape of the whole object, I used basic primitives to shape the bed frame and then created slats to complete the bed. I then wanted to make it a little more interesting which is why I decided to destroy it a little bit, I created the mattress and then used the soft selection tool to drag it down. this made it look like it had been ruined which is the look I was going for.
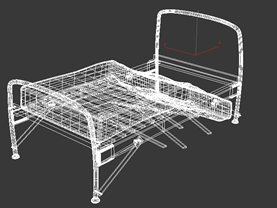 Here is the wire frame model to show how complex the polygons are, yet its still within a basic polygon count for the model.
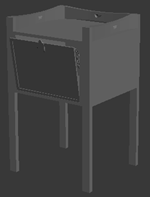 Here is a bed side table that I modelled, I wanted to make it a little different than the usual box with legs that you might see. So I decided to open the front draw and add the little chains that make it swing open, this added to the poly count a little but I think it was worth it.
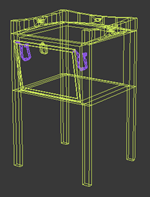 Here is the wire frame model of the bedside table.
 As you can see from the wire frame model, the poly count is high but i will try to reduce these when I texture it.
No comments:
Post a Comment